 English
 русский
 Español
 Deutsch
Coolant Pipe are critical components in your vehicle's cooling system, transporting coolant and keeping the engine operating within the proper temperature range. Whether you're replacing a worn-out line, performing routine maintenance, or performing a more complex engine repair, learning how to properly remove a coolant line is essential. Below is a detailed guide to help you complete this task safely and smoothly while avoiding damage to your vehicle.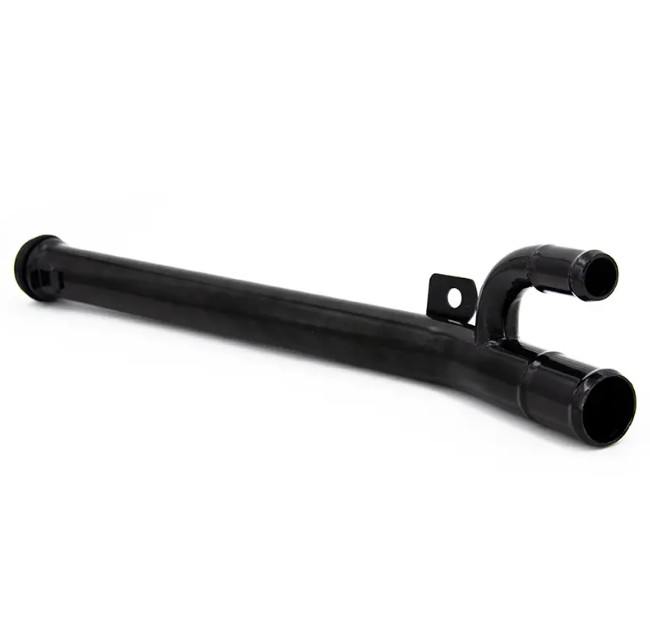
Pre-disassembly Preparation
Before you begin, thorough preparation is crucial. Make sure the engine is completely cool, as hot coolant and lines can cause burns. Wear protective gloves and goggles to prevent coolant from splashing onto your skin or eyes.
Required tools include:
- Coolant drain pan: for collecting drained coolant.
- Pliers or pipe clamps: for loosening and securing clamps on pipes.
- Flat-blade screwdriver: for prying off stubborn clamps or loosening pipes.
- Towel or rag: for wiping away leaking coolant.
- New coolant pipe and clamp: If replacing a pipe, ensure the specifications match the original.
Removal Steps
Draining the Coolant
Locate the radiator drain valve or drain hose under the vehicle. Place the oil pan underneath and slowly open the drain valve or loosen the clamp to allow the coolant to flow into the pan. Coolant is toxic; dispose of it properly and do not pour it carelessly.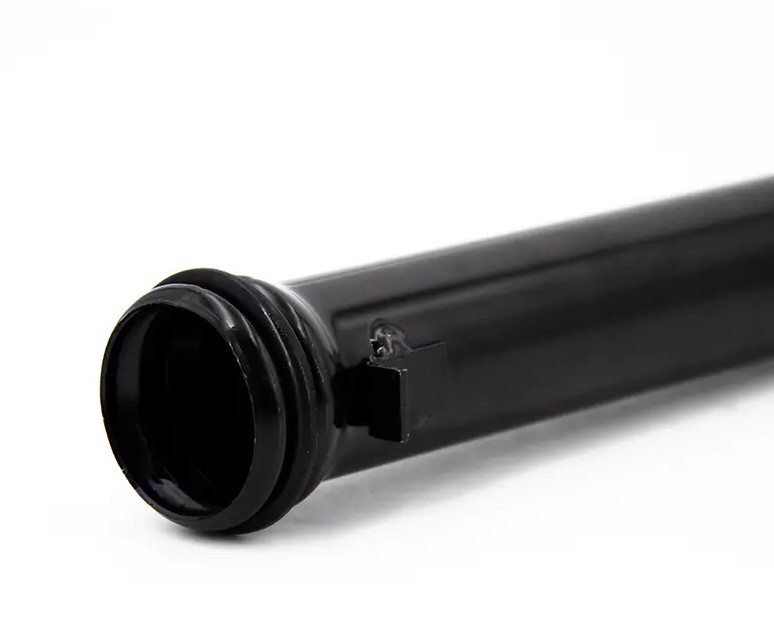
Identify the Line to be Removed
Open the engine compartment and locate the coolant pipe to be replaced or removed. These pipes are typically made of high-temperature-resistant rubber or silicone and are connected to the water pump, radiator, thermostat housing, heater core, and other components.
Loosening the Clamp
Grasp the clamp with pliers and push back, or use a screwdriver to loosen it. Some spring clamps require special clamp pliers to prevent deformation.
Removing the Coolant Pipe
After the clamp is loosened, gently rotate the pipe by hand and slowly remove it. If the pipe is tightly adhered to the connection, do not pull it hard. Instead, carefully insert the flat end of a screwdriver into the gap and gently pry it free. Be careful not to damage the joints, as this can cause leaks.
Common Problems and Tips
Tightly adhered hoses
Spray the joints with penetrating lubricant (such as WD-40) and wait a few minutes before removing. This will make removal much easier.
Residual coolant
Even after most of the coolant has been drained, a small amount may still leak out when removing the hose. Wipe it off immediately with a towel to prevent dripping onto components or the floor.
Comparing the old and new hoses
Before installing the new hose, compare the old and new hoses side by side to confirm the length, bends, and joint dimensions are consistent. Otherwise, installation may fail or leakage may occur.
Check the clamps
If the old clamps are rusted, deformed, or loose, replace them with new ones to ensure a proper seal.
Following the above instructions, you can generally remove and replace the coolant hoses smoothly. If you encounter particularly complex locations or are unsure of certain steps, it's best to consult a professional technician.


