 English
 русский
 Español
 Deutsch
The oil filter is the guardian angel of your car engine, effectively filtering impurities and particles from the oil, ensuring clean and smooth operation of the engine's internal mechanical components. Regularly changing the oil filter is a key part of vehicle maintenance, effectively extending engine life and improving performance. If you're considering changing it yourself, understanding how to properly remove the oil filter is the first step.
Content
Preparation Before Removing the Oil Filter
Before you begin removing the oil filter, make sure you are fully prepared.
- Tools: You will need an appropriate oil filter wrench. There are various types available, such as belt, chain, socket, or claw. It is crucial to choose a wrench that matches the size and shape of your vehicle's oil filter.
- Parking: Park the vehicle on a level surface and apply the parking brake. For safety, it is best to place wheel chocks under the wheels.
- Engine Cooling: Ensure the engine is completely cool. Hot oil and engine components can cause burns.
- Place a waste oil pan: Place a waste oil pan directly below the oil filter to catch any old oil that may leak out.
Step 1: Locate the Oil Filter
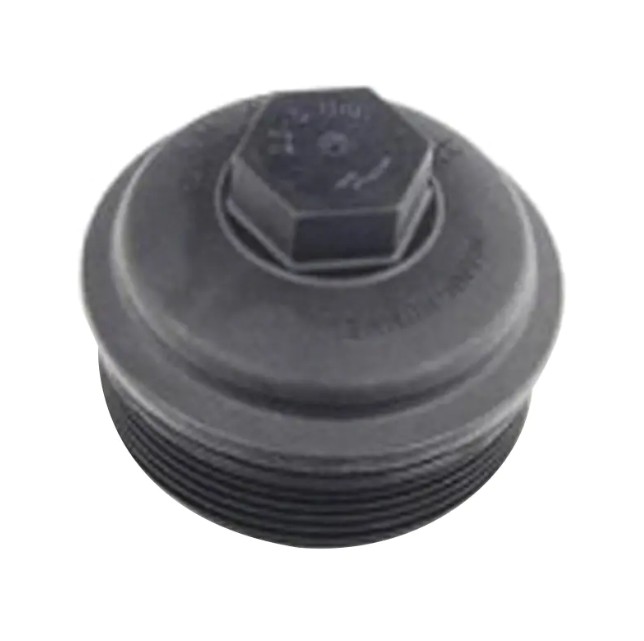
The oil filter is typically located on the bottom or side of the engine and is a cylindrical metal can. Its exact location may vary depending on the model; consult your vehicle's owner's manual for the exact location.
Step 2: Loosen the Oil Filter with a Wrench
Place the prepared oil filter wrench on the filter. Ensure the wrench is firmly engaged, then slowly and steadily turn the wrench counterclockwise. Important: Use the wrench only to loosen it; do not completely remove it. Once the filter can be turned by hand, remove the wrench.
Step 3: Remove the Filter by Hand
Once the oil filter is loose, continue turning it counterclockwise by hand until it is completely removed. As there is still old oil inside the filter, be careful to avoid spilling it.
Post-Removal Precautions
- Inspect the Seal: After removing the old oil filter, inspect the mounting on the engine. Sometimes, the rubber seal from the old filter may stick to it. Be sure to remove it, otherwise it may cause oil leaks when installing the new filter.
- Cleaning the Mount: Wipe the area around the mount with a clean cloth to ensure there is no residual dirt or old oil.
- Properly Dispose of Used Oil and the Old Filter: Take collected used oil and the old oil filter to a designated waste oil recycling station or auto repair shop for disposal. Never discard them carelessly to avoid environmental contamination.
Proper oil filter removal is crucial for a successful replacement. Follow the steps above and ensure you are in a safe environment. If you are unsure of your procedure or encounter any difficulties during removal, seek assistance from a qualified technician.


